Germinating seeds for hydroponics is a good way to get seeds to grow, and it can also be used to grow plants in other ways. Hydroponics is a more efficient and hygienic way to grow plants than growing them in soil. It also stops root rot and pests from getting in. Because everything in this way of growing is done automatically, you are in charge of the whole system. This article shows everything you need to know on how to germinate seeds for hydroponics.
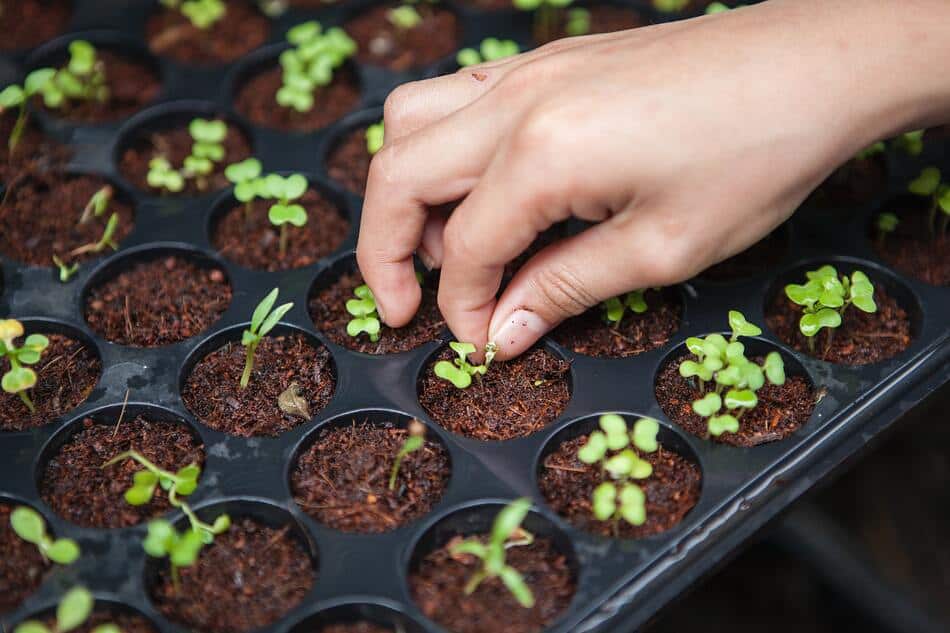
First, soak seeds for 24 hours. Next, fill a planting tray with a sterile growing medium and indent each cell. Keep the growing medium moist, and the seeds should germinate and grow in 7-10 days. Once seedlings sprout, transplant them into hydroponics.
Hydroponics Germination Basics
It’s important to keep in mind that seeds can sprout in soil, but it’s not a good idea. This is because of several things.
If you move bacteria from the soil to your hydroponic system, it could hurt the roots of your seedlings, so you’ll need to wash them before you move them. For this, use a special growing medium like Rockwool or Coco coir/Cocopeat.
Also, seeds can be called “Hydroponic Seeds” in many places, but you don’t have to look for them because any seed can be used in a hydroponic system.
Hydroponic Microgreens
How can microgreens be grown without soil?
You only need a few basic things, like trays, growing medium, light, nutrient solutions, and seeds.
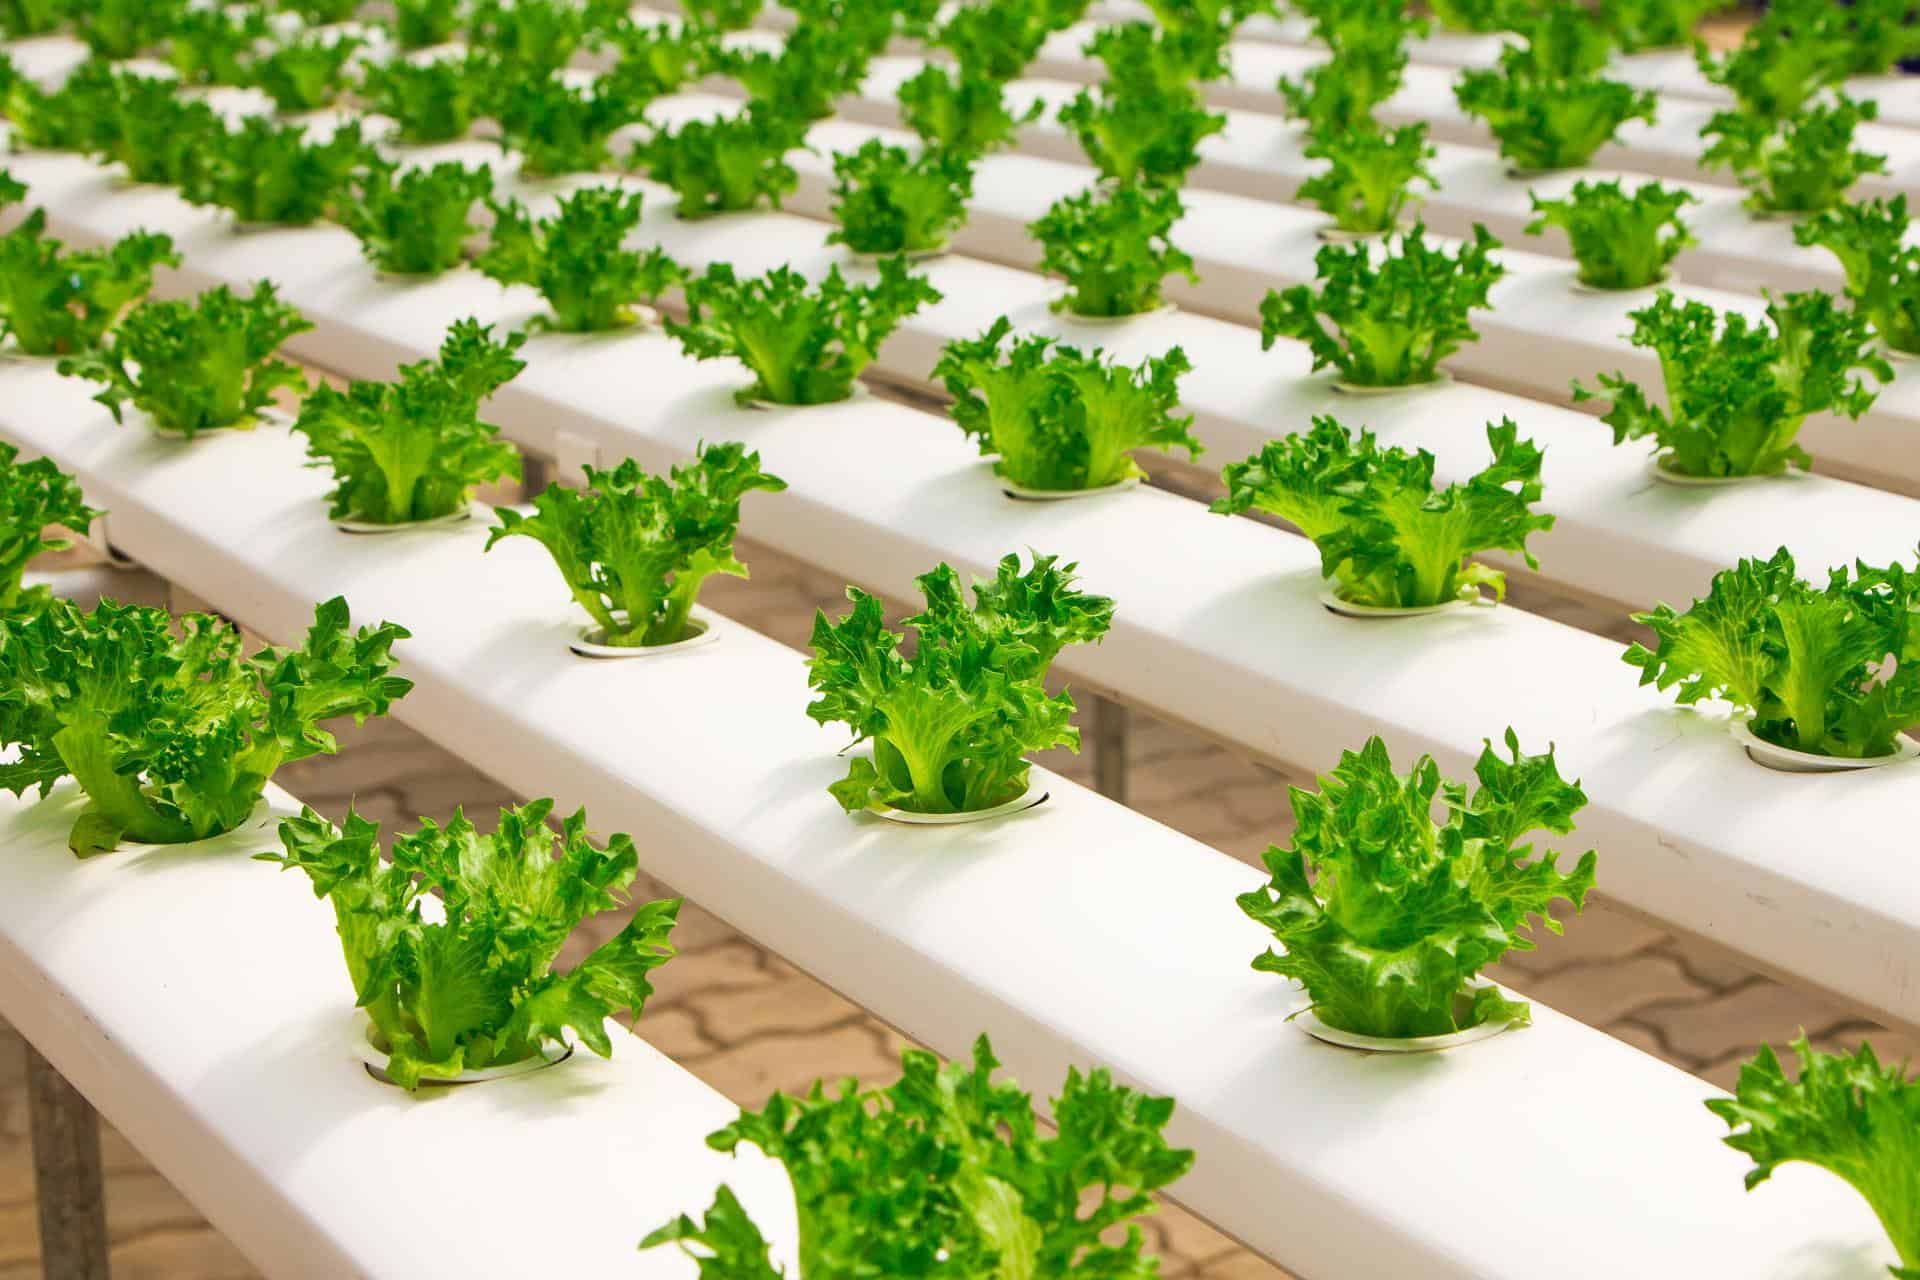
What Are Hydroponic Microgreens?

Plants can be grown using hydroponics even if the soil is not used. Your microgreens spend their entire lives submerged in water and growing in this medium. They will have to rely solely on the water for their source of nutrients and oxygen because the soil will provide neither.
This means that you need to mix fertilizer with water to make a nutrient-rich solution that your microgreens’ roots can soak up.
In a hydroponic system, you can use different growing media, also called substrates, to help your plant’s roots grow.
Preparing Your Hydroponic Seeds For Germination
Soak the start cube for about an hour in clean, pure water. After an hour, take it out of the water and give it a gentle shake to get rid of any extra water.
Put two to four seeds in each hole of the starter cube. Make more starter seeds in case some don’t grow, and when they do, choose the strongest and healthiest ones.
Move the starter cubes to the nursery while you wait for the seed to sprout. If you keep adding water or a half-nutrient solution to the tray in the nursery, the seed will sprout in a few days.
When the seeds start to sprout, slowly turn up the light and move it closer to the plants until it’s less than 6 inches away. Then, start giving the sprouts the nutrient solution in the right amount to speed up their growth.
Phases Of Hydroponic Seed Germination
As seeds grow, they go from being dormant to growing.
- The seed’s tough shell is called the seed coat.
- Plumules is the embryo plant’s first shoots or stems.
- The radicle is the part of the seed that is below the leaf stalks and above the root system.
- Cotyledons are the first leaves to grow on plants that make seeds.
- You will see the first leaves on one or more of these seedlings. These help keep nutrients in the plant until bigger leaves grow.
When the period of dormancy is over, the Radicle will break, which will cause a plant to grow early. For this to happen, the seeds need to be in a warm, wet place. In hydroponic systems, the Cotyledon can’t give the seeds their first nutrients, which they would normally get from the soil.
Propagation is the stage when seedlings get stronger roots and their first true leaves. They also start to grow bigger. This stage of growth starts when the plant breaks out of the seed and ends when roots grow in the germination plug.
When a plant has two or three sets of true leaves, it can be moved into the system.
Steps Of Hydroponic Seed Germination
- Freeze your seeds for 12 to 24 hours before you plant them. This makes an artificial “winter,” which lets the seeds grow in a warmer place.
- Drain the rooting tonic from the bottle and add it to the water.
- Without rooting tonic, you can lower the pH of your water to 5.5 and start growing plants from seeds or clones.
- Soak the rock wool cube in the solution for a minute to distribute the water evenly across the cube or pellets.
- The rock wool cube should be damp, but not dripping wet, after being removed from the water. It is possible to use the remaining solution to water plants at a later date.
- Sow the seed at a depth equal to its width in millimeters, or 2mm below the seed’s surface. Ensure that the seed is directly on top of the rock wool before sowing.
- Place the rock wool on a lattice tray in a propagation unit. When using rock wool, it’s important to ensure that any excess water is drained away and doesn’t accumulate in the solution.
- Install a heat mat beneath the propagator to keep the rock wool at a constant 25°C. The rock wool cube should still be damp after a few days. Spray or drop some root solutions on the cube if it isn’t already.
- Rock wool must be damp, not saturated. Without oxygen, the seed and roots will rot. Expose the leaf as soon as it emerges from the seed. 18 to 24 hours a day of purple lights or CFL grow lights can protect seeds from direct sunlight.
- When roots start to grow out of the rock wool cube, add a nutrient solution.
Hydroponics Germination Do’s And Don’ts
- If the temperature in the germination chamber gets too hot or too cold, germination rates will be low or nonexistent.
- Don’t let the media seeds dry out. For your seeds to grow, you need to keep them warm and moist. If you don’t do this or let them dry out between waterings, they will probably die.
- Keeping the humidity in the germination chamber higher will make it less likely that the seeds will dry out and need watering. With the help of a humidity dome, the chamber could make humidity.
- There’s also a chance that the seeds and young plants are too wet. In this case, the seed usually goes bad before it starts to grow. If the media is wet or falling apart, it is too wet. It needs to be moist, but water shouldn’t stay in the tray for a long time.
Final Thoughts
Now that you have all the information on how to germinate seeds for hydroponics, it’s time to get started. The best way to learn is by doing, so don’t be afraid to make mistakes. The most important thing is to have fun and enjoy the process.
Happy Gardening!