
Is it easy to learn how to harvest microgreens? Microgreens are a delicious and nutritious addition to any meal, but harvesting them can be a little tricky. In this article, I will discuss the best way to harvest microgreens so that you get the most out of your plants!
To harvest your microgreens, cut them at soil level using sharp scissors or a knife. Be sure to wash them thoroughly before eating. Microgreens are best eaten fresh but can be stored in the fridge for up to a week.
How Do You know When Micro Greens Are Ready To Be Harvested?
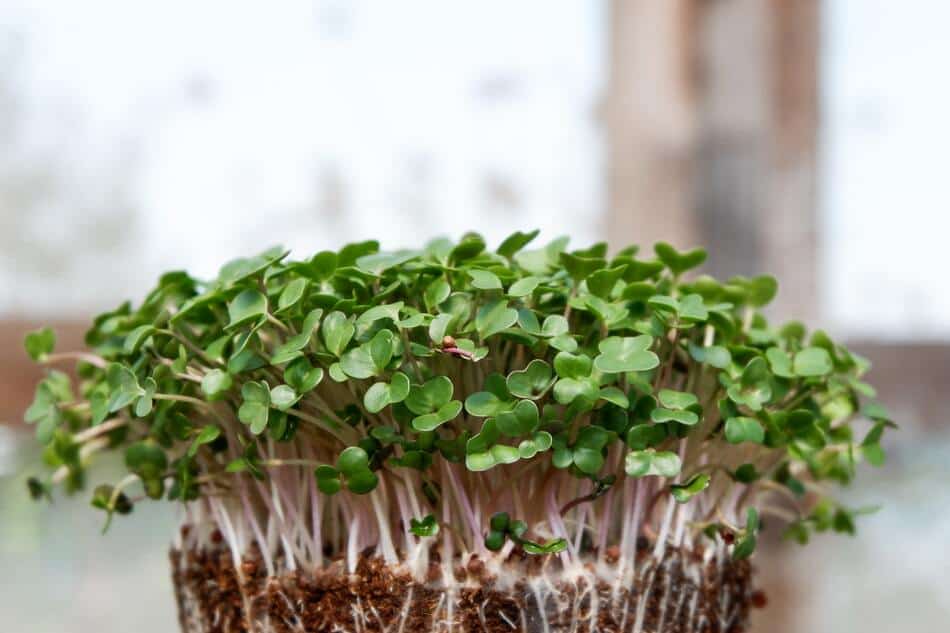
The answer to this question is quite simple – you’ll know your microgreens are ready to be harvested when they reach the ideal height for your particular variety. For example, arugula microgreens should be harvested when they’re about two inches tall, while radish microgreens can be harvested at just one inch in height. Once your microgreens have reached their ideal height, it’s time to snip them off at the base with a sharp pair of scissors.
Of course, you can also experiment with harvesting your microgreens at different stages – some people prefer to harvest them a bit earlier than the ideal height, while others like to wait until the plants have produced their first true leaves. Ultimately, it’s up to you to decide when your microgreens are ready to be harvested, so go ahead and give it a try! Who knows, you might just find the perfect time for your next batch.
How To Plant And Harvest Microgreens?
Microgreens are a great way to add some extra nutrition to your diet. They are easy to grow and can be harvested in as little as two weeks. Here is a quick guide on how to plant and harvest microgreens.
- To get started, you will need some potting soil, a container, and some seeds. You can find microgreen seeds at most garden stores or online.
- Once you have your supplies, fill your container with potting soil and wet it down.
- Then, sprinkle your seeds on top of the soil and lightly press them into the surface.
- Cover the container with plastic wrap or a lid and place it in a warm location. Check on your seeds daily, misting them with water if the soil starts to dry out.
- In about a week, you should see your seeds sprouting. Once the seedlings are a few inches tall, they are ready to harvest.
- Cut the microgreens at the base of the stem with a sharp knife or scissors.
- Be sure to wash them thoroughly before eating. You can store your microgreens in the fridge for up to a week in an airtight container. Enjoy!
Now that you know how to plant and harvest microgreens, give it a try! They make a great addition to salads, sandwiches, and soups. With just a little bit of effort, you can enjoy fresh, nutritious microgreens all year round.
Can I Reuse Microgreen Soil?
Yes, but here’s when you shouldn’t. When you’re finished harvesting your microgreens, you can either compost the roots and leftover soil or keep it to reuse. If you choose to reuse the soil, make sure to sterilize it first. The easiest way to do this is by microwaving the soil for about two minutes. Once the soil has cooled, you can replant your microgreens.
You should only reuse microgreen soil if it’s in good condition and hasn’t been contaminated with any diseases or pests. If there’s any mold or mildew visible on the roots or soil, it’s best to throw it out and start fresh. It’s also a good idea to change out the soil every few weeks to ensure that your microgreens are getting the nutrients they need to grow.
Can I Store Microgreens In Paper bags?
The simple answer is yes, you can store microgreens in paper bags. The slightly more complicated answer is that it depends on the type of paper bag and how long you need to store the microgreens.
If you’re looking for a short-term storage solution, any type of paper bag will work. Just make sure to punch a few holes in the bag to allow for ventilation. For long-term storage, you’ll want to use a freezer-safe paper bag. These bags are designed to keep food fresh for longer periods and will help your microgreens stay fresh and crisp.
Can Microgreens Grow All Year Round?
The short answer is yes, but there are a few things to consider. First, microgreens need about six hours of sunlight each day to grow well. If you live in an area with shorter days during the winter, you may need to supplement your microgreens with artificial light. Second, temperatures can also affect how well microgreens grow. They prefer cooler weather and will go into dormancy (a resting state) if the temperature gets too hot.
So if you want to grow microgreens all year round, you can do it! Just be sure to give them the care they need and pay attention to the changing seasons.
What Are The Fastest Growing MIcrogreens?
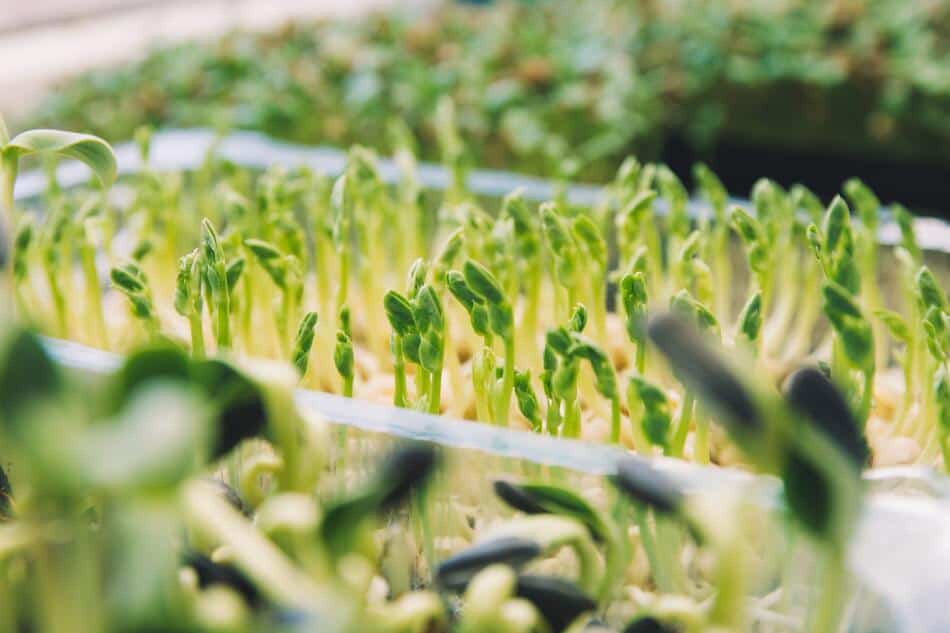
Arugula, beet greens, and chard are among the fastest-growing microgreens. They can be ready to harvest in as little as two weeks. Radishes, cress, and mustards are also fast growers and will be ready to harvest in three weeks or less. Pea shoots, sunflower greens, and broccoli sprouts are a bit slower growing but can still be harvested in four to six weeks.
If you’re looking for microgreens that pack a nutritional punch, consider arugula, beet greens, and chard. These nutrient-rich greens are not only fast growers but also offer numerous health benefits. Arugula is an excellent source of vitamins A and C, while beet greens contain vitamins A, C, and K. Chard is a good source of vitamins A, C, and E as well as magnesium, potassium, and iron.
Final Words
Bottom line: it is easy and rewarding to grow your microgreens, and they are a great way to add fresh, nutritious greens to your diet. With a little care and attention, you can harvest a bountiful crop of healthy microgreens. So get growing!
If you’re looking for a fun and easy gardening project that will give you a big payoff in terms of nutrition, try growing microgreens. You can start harvesting them just a few weeks after planting, and they pack a powerful punch of vitamins, minerals, and antioxidants. Plus, they’re delicious.
Related Articles